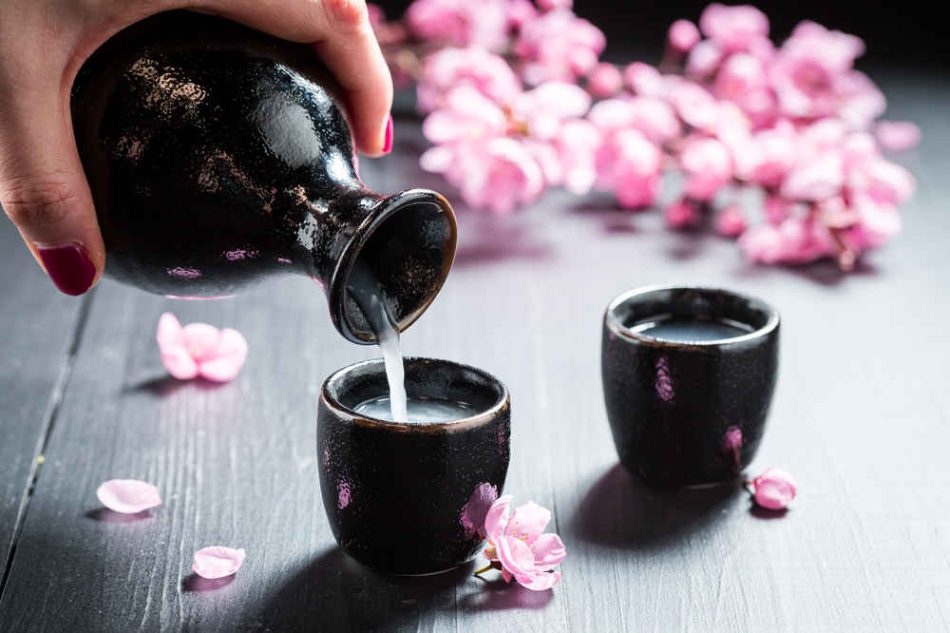
Intrigued by the rich history and cultural significance of Japan’s national drink, sake? Let’s get into the art of brewing this traditional rice wine with us. The journey to brew sake at home may seem intricate, but fear not! We’ve simplified the process into five easy steps, allowing you to savor the essence of this iconic beverage.
Understanding Sake Brewing
Before embarking on your sake-brewing odyssey, let’s grasp the basics. Sake’s core ingredients, rice, water, yeast, and koji mold, dance in harmony to create a symphony of flavors. These components wield immense power over the sake’s final taste. Understanding their roles and interactions lays a solid foundation for your brewing journey.
Step 1: Polishing the Rice
The essence of premium sake lies in the polished rice grains. This first step involves removing impurities and undesirable flavors through meticulous rice polishing. The polishing ratio, indicating the removed rice grain percentage, holds the secret to sake’s quality. Aim for a polishing ratio of 50% or lower for a truly top-tier sake experience.
Step 2: Washing and Steaming the Rice
Once the polishing is done, give the rice a thorough wash to eliminate any remnants. The purity of the rice grains is crucial for the subsequent steps. After washing, the rice is steamed to achieve that perfect texture, ensuring the starches are optimally gelatinized for the upcoming fermentation process.
Step 3: Koji Preparation
Koji, the heart of sake production, sets the magic in motion. It involves rice that has been lovingly inoculated with the koji mold, sparking the enchanting fermentation process. The enzymes produced during this dance of microorganisms break down rice starches into sugars ready to be transformed into the soul of sake.
Step 4: Moromi – The Main Fermentation
Now the symphony begins. The steamed rice, water, yeast, and koji blend together in perfect harmony, forming the “moromi” main mash. This is where the yeast works its magic, diligently converting sugars into alcohol over time. Like a conductor, temperature and timing direct the orchestra, shaping the final flavor profile of your sake.
Step 5: Pressing and Maturation
As the fermentation reaches its crescendo, the time has come to separate the elixir from the solid residue. Pressing the sake creates a pristine liquid canvas, ready to mature into its full potential. Patiently awaiting the maturation period, the sake evolves, embracing complexity and refining its taste, like a blossoming work of art.
More Read: 6 Major Health Benefits Of Trekking Post COVID-19

Conclusion
Sake brewing is an art that marries ancient tradition with precision. As you embark on this journey, the passion and dedication you invest will reward you with a delightful sake to share with loved ones. Remember, each step and decision contribute to the symphony of flavors that is your unique sake. Embrace the art, embrace the history, and savor the joy of creating your very own sake.
FAQs about Brewing Sake
Q1: Is brewing sake legal in all countries?
A1: Sake brewing’s legality varies across countries. Before donning your brewing apron, research and adhere to your local alcohol production laws.
Q2: How long does sake brewing take from start to finish?
A2: The journey to sake nirvana spans from three weeks to several months. The brewing style and desired maturation period dictate the timeline.
Q3: Can I use any rice for sake brewing?
A3: Experimentation is encouraged, but for the finest results, opt for sake-specific rice types like Yamada Nishiki or Gohyakumangoku.
Q4: What temperature is ideal for sake fermentation?
A4: The symphony of fermentation performs best at temperatures ranging from 15 to 20 degrees Celsius (59 to 68 degrees Fahrenheit), adapting as needed.
Q5: Can I adjust sake’s sweetness and dryness during brewing?
A5: Absolutely! Controlling the fermentation process and residual sugar levels after pressing empowers you to craft a sake symphony tailored to your taste.


